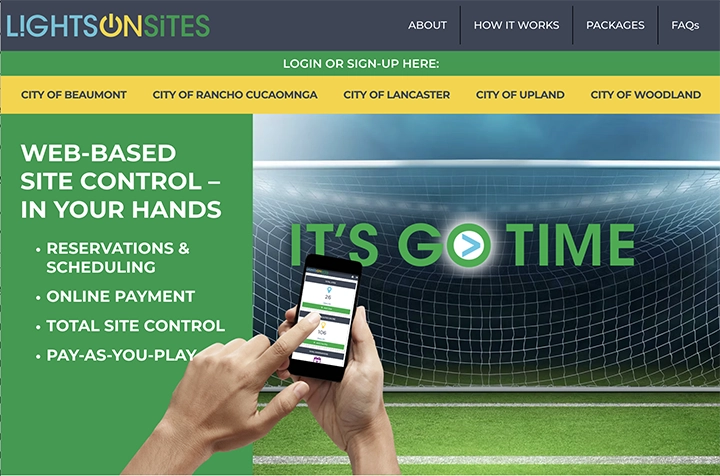
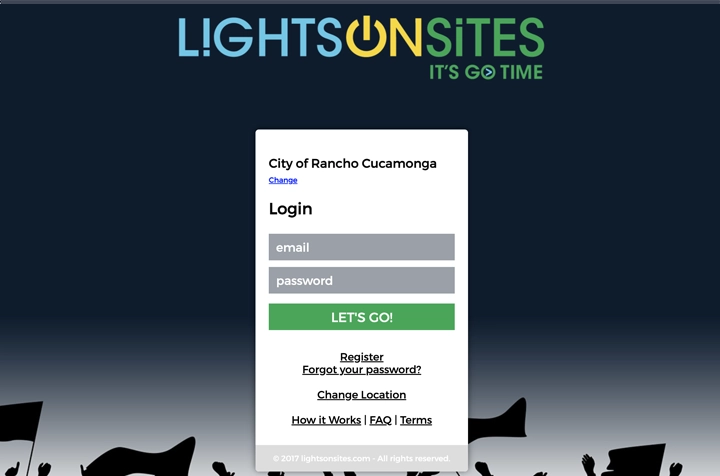
TO REGISTER: Visit lightsonsites.com. Then select your city or organization at the top of the screen in the yellow bar. (Your city or organization must be listed to use the system.)
This will direct you to your city or organization‘s specific website. (Please bookmark this page for future use. See PDF for iPhone instructions.)
Click the “Register” link below the “LET’S GO” button and complete the registration form.
TO LOGIN: Visit lightsonsites.com. Then click your city or organization top of the screen in the yellow bar. This will direct you to your city or organization‘s specific website. (Please bookmark this page for future use. See PDF for iPhone instructions.)
Enter your username and password. Then select the “LET’S GO” button.
PRO TIP: LightsOnSites.com is web-based. No app is required. You can bookmark your Entity’s (city or organization) direct page for future use. See or download a PDF for iPhone instructions.
IMPORTANT! To ensure you can continue using your LIGHTSONSITES Organization Admin Account, you will need to provide a payment method.
NOTE: This is SEPARATE from your Individual User Payment Method and should be added to your Organization Admin Profile. Please use a Payment Method designated for your Organization.
NOTE: Your reservations are set by your City or Organization. You may not set your own reservations.
Now, when you login to the system, you will see a new Organization Admin User Tile in addition to your Individual Tile.
(To use your Individual User Account, see How to Use your Individual Tile.)
This Organization Admin Role now allows you to:
You can now invite Organization Users — anyone who should be given access to a site and control lights during a reserved time. This can be a coach, volunteer, or designated staff or team member.
To add a new User – Select ”Create Org User“ from the TOTAL USERS TILE on your dashboard. On the next screen, fill in the User’s information and the system will grant that user a new Organization Role. An email will be sent to the new User.
See “How to use The Organization User Tile.“
NOTE: You will need to request an Organization Admin role from your Entity (City or main organization).To request this role, please contact your Entity.
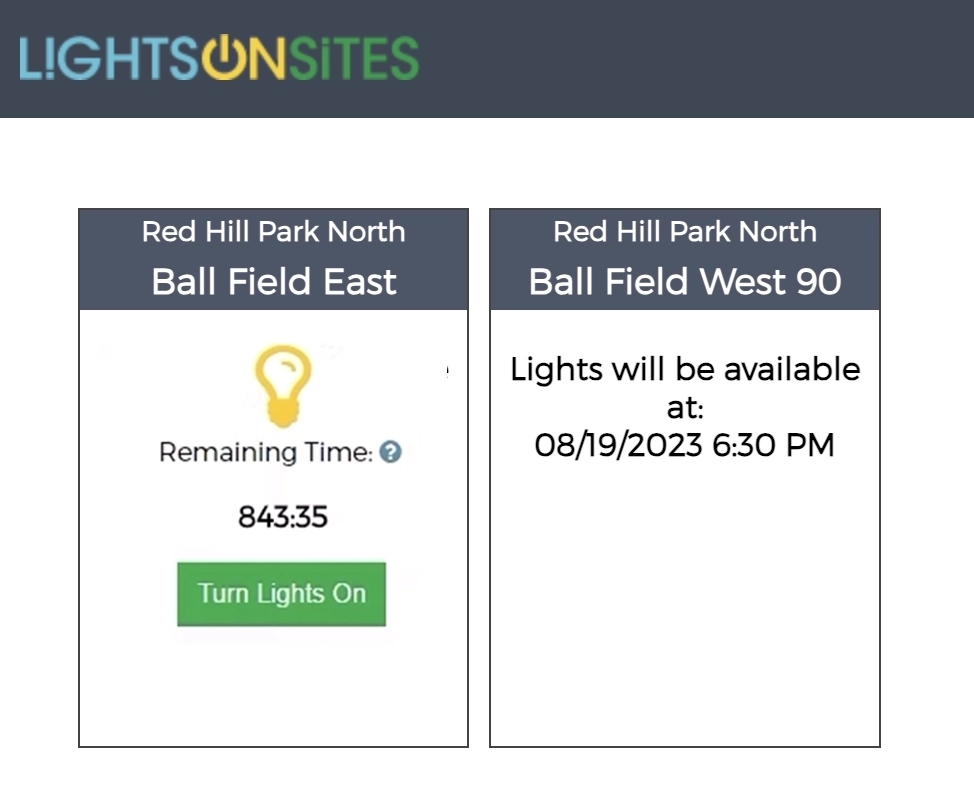
When your reservation is active, you will be able to turn on the lights. There are two types of reservations: “Auto-on” and “Manual-on.” Depending on your reservation, you or your designated Organization Users may need turn the lights on from the dashboard.
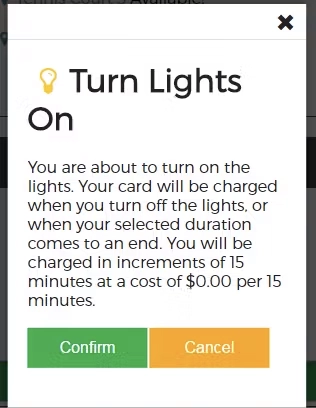
To turn on the lights with a “Manual-on” reservation, select the “Turn Lights On” for your designated Facility. Then select “Confirm” on the next screen.
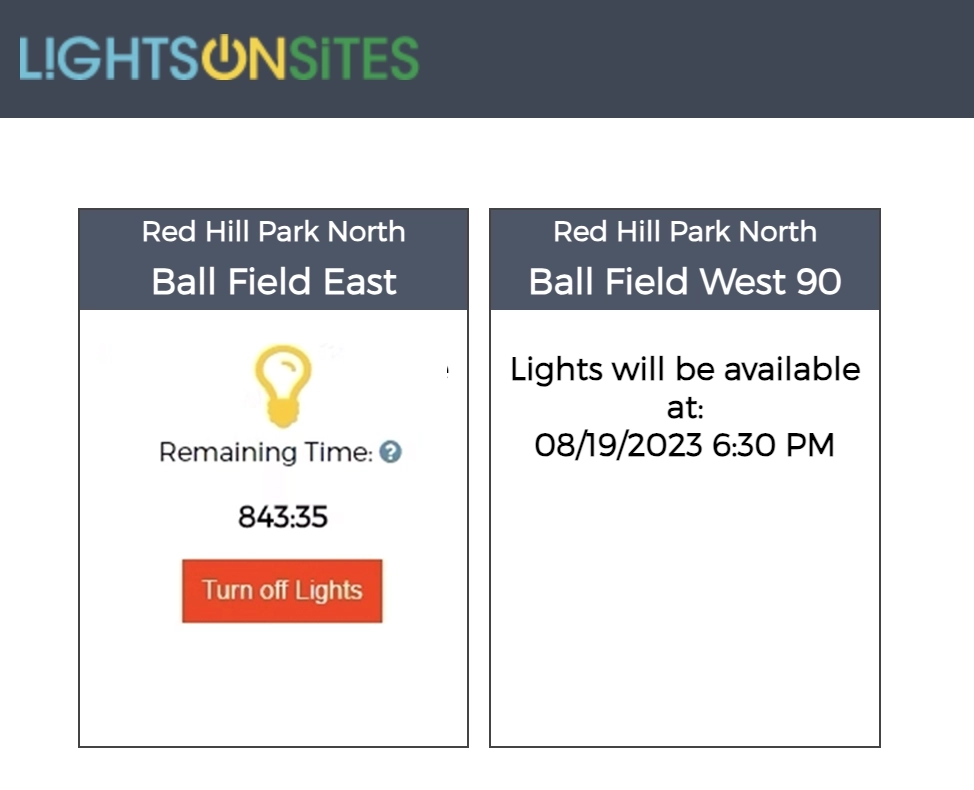
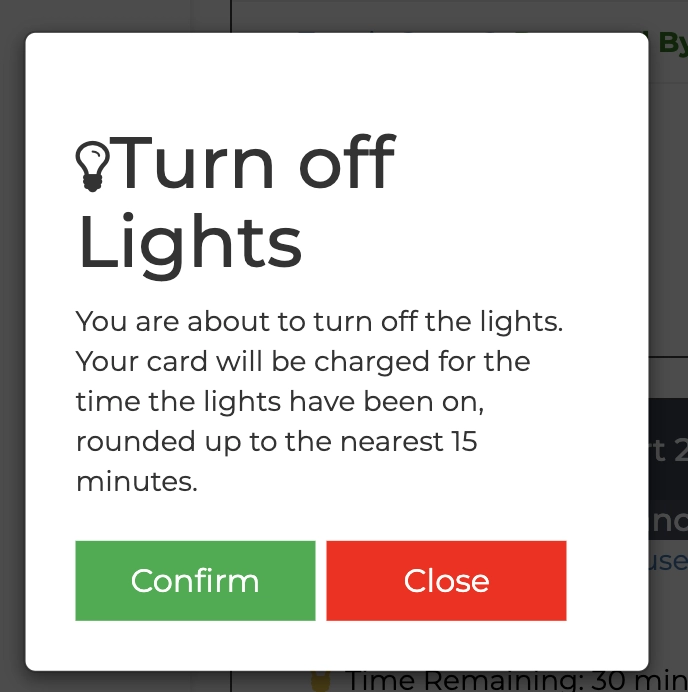
The lights should turn off automatically at the end of your reservation. However, if you or your Organization User would like to turn off the lights before your reserved time has ended, please select the ”Turn off Lights“ button. This is will terminate your reserved time. Then select “Confirm” on the next screen.
If you choose to end your time before the end of the reservation, you will only be charged (if there is a fee) for the use within the nearest 15 minute increment.
NOTE: You may also encounter Closure Notices on your Dashboard indicating Facilities are not available for use. This may be due to inclement weather or maintenance. In the event of a Closure, you should receive an Email notice.